NAS
Synology first backup setup with Hyper Backup
A Synology NAS that's just storing files isn't backed up — it's just storing files. Hyper Backup (Synology's built-in backup package) is the missing piece, and the first-time setup has four decisions that matter long after the setup wizard closes: what to back up, where to send it, how to retain versions, and how the encryption key survives a NAS loss.
Best for: DSM 7.x operators on any Synology model setting up their first real backup task — not the casual file-copy that comes with the OS, but a versioned, restorable backup with a documented destination.
DSM 7.3 status (as of the October 2025 reversal + March 2026 Update 3)
- Synology's 2024 announcement of 'verified drives only' on the 2025-series Plus was partially reversed in DSM 7.3 (October 2025). On 2024-and-older Plus models (DS923+, DS1522+, DS1821+, DS2422+, RS1221+, etc.), non-Synology drives still work for Hyper Backup pool creation — they show as 'Unverified' with a warning, but pool creation, expansion, encryption, and the Smart Recycle retention all function normally. On 2025-series Plus (DS725+, DS925+, DS1525+, DS1825+, DS425+), the restriction is stricter — confirm your specific model's status against `kb.synology.com` before assuming third-party drives will work.
- This page's procedure assumes DSM 7.3.2-86009 Update 3 (March 2026) or later. Hyper Backup itself is included in the DSM Update bundle; you don't manage it separately. If your DSM is on 7.2.x or earlier, update via Control Panel > Update & Restore before starting the wizard — older Hyper Backup versions have wizard UX differences (key file download timing, encryption-prompt placement) that this walkthrough's screenshots don't match.
- Active Backup for Business (the package that lets you push backups OUT from Windows/Mac/VMs INTO this Synology) is a separate Package Center install and is unaffected by the drive-verification policy — it just needs DSM 7.x.
Before installing Hyper Backup
- Decide what's irreplaceable on this NAS — `homes/` user folders, `photo/` library, `Document/` shares, app data — and write that list before opening the wizard. A backup that includes everything (including iso/ download caches, package repositories, transcoded thumbnails) burns destination space and slows restores.
- Pick a destination type up front: local USB drive, second NAS (rsync or Hyper Backup Vault), cloud provider (Synology C2, Backblaze B2, S3-compatible), or `rsync` to a remote server. Local USB is fastest to restore from; cloud survives the home; second NAS at a relative's place is the strongest single-destination option if it exists.
- Generate a strong encryption passphrase if the destination is anywhere other than fully-trusted local hardware. Hyper Backup encrypts client-side before upload, but losing the passphrase means losing the backup — store it in a password manager that itself has an offsite copy.
- Confirm DSM version is current. Hyper Backup interoperates closely with DSM updates; running an out-of-date DSM can mean tasks fail in ways the wizard doesn't surface until the next scheduled run.
Setting up the first Hyper Backup task
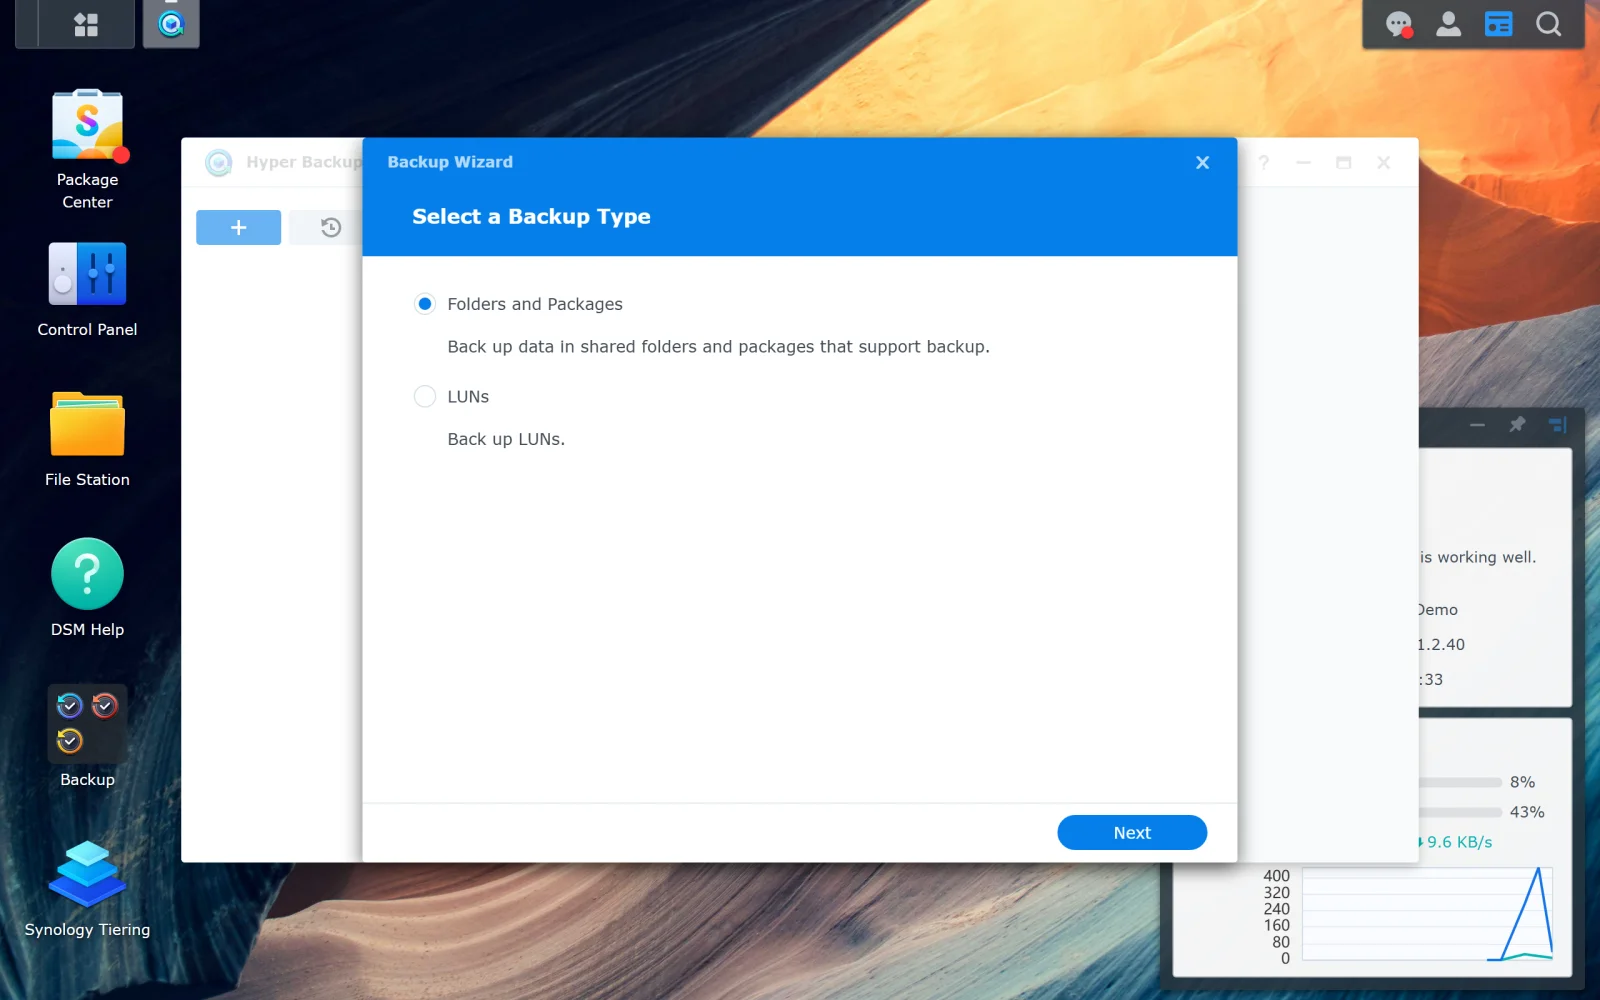
- Install via Package Center > search Hyper Backup > Install. Open the package; choose Data backup task (not LUN backup unless this NAS hosts iSCSI volumes for VMs).
- Pick the destination type from the list. Local Shared Folder is the wrong choice if the goal is real backup — a 'backup' on the same volume disappears with the volume. Even a local USB drive on a different physical disk is a better starting point.
- On the Data Backup screen, select the specific shared folders + Application data (Note Station, Synology Photos, MailPlus, etc.) you decided on. Avoid selecting `@eaDir/` thumbnail caches — they regenerate from originals and waste space.
- Set the schedule. Daily at off-peak hours (early morning) is the default starting point; smart-renaming/integrity check on Sunday works for most home loads.
- Set rotation: Hyper Backup's Smart Recycle option keeps recent versions dense (hourly for 24h, daily for a week, weekly for a month) without unbounded growth. Pick that unless you have a specific retention policy.
- Save the configuration export file (Hyper Backup offers this on completion) somewhere the NAS doesn't host — it documents the task without exposing the encryption key.
Encryption key custody (the part operators skip)
- If encryption is enabled, Hyper Backup generates a long key file (`.pem`-like) and a passphrase. The passphrase unlocks the key; the key unlocks the backup.
- If the NAS dies, you restore on a new NAS by re-attaching the destination and providing the passphrase. Without the passphrase, the backup is unrecoverable — there is no Synology-side key escrow for end-user backups.
- Store the passphrase in a password manager that has its own offsite copy (e.g., 1Password/Bitwarden synced + a paper print in a safe). The exported key file can sit alongside, but the passphrase is the actual gate.
- If this is a household NAS, decide now whether a partner or family member needs key access too — relying on a single person's password vault is fragile.
First-run verification
- After the first run completes (this can take hours to days for large libraries on slow upload), open Hyper Backup > Backup Status. Confirm the task shows Success and a non-zero Backup Size matching what you selected.
- Click Backup Explorer (the file-tree icon). Browse into a backed-up folder, find a small known file, click Restore > to a temporary location, and open it. This is the only real proof the backup is restorable.
- If the destination is a remote cloud or second NAS, run an integrity check (Hyper Backup > task > More > Settings > Backup Verification > Verify). On Smart Recycle weekly schedule it runs automatically; for first-time setup, trigger it manually.
- Record the first-success timestamp in a place outside the NAS (calendar reminder, password manager note, household ops doc). Future restore drills compare against this baseline.
DSM 7.3 — what Hyper Backup looks like on a real Synology
Reference images and diagrams. Click any image to view full resolution.
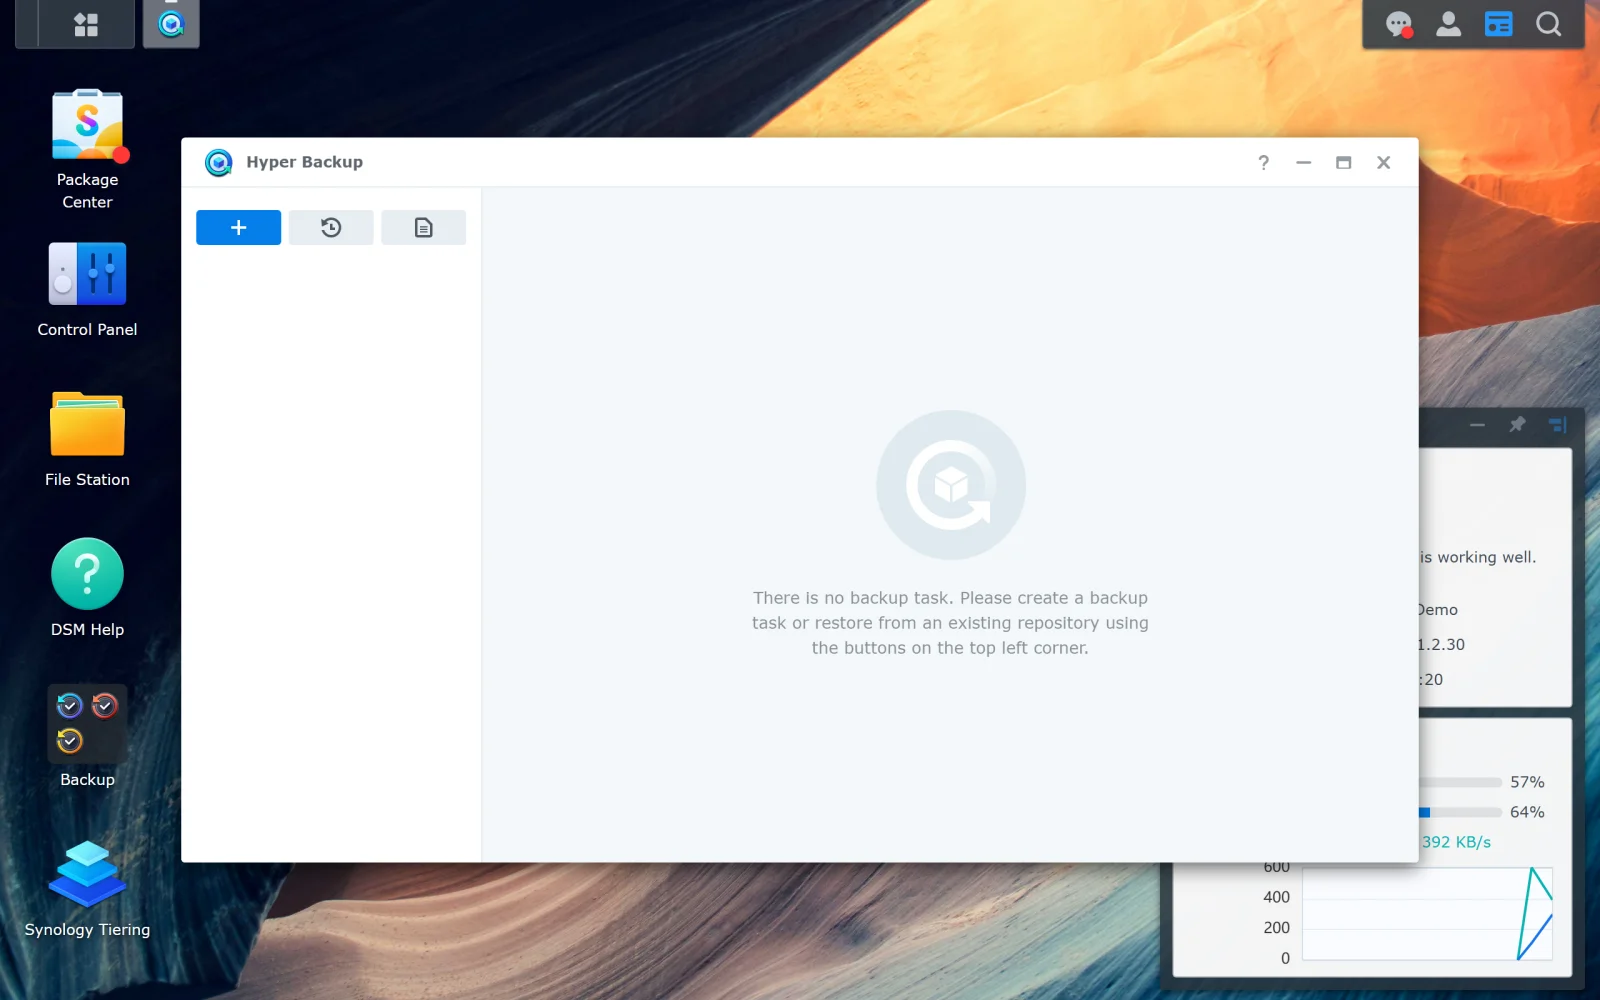
Hyper Backup is installed and visible in Main Menu.
Package Center > search 'Hyper Backup' > Install
Package Center > installed list shows Hyper Backup with the green Running indicator.
Stop before finishing if passphrase storage isn't ready.
Layer path
Step-by-step runbook
Start here. Do each check in order, compare it to the expected result, and stop when the evidence explains the failure or the safe stop point applies.
Plan the destination, encryption, and irreplaceable-folder list
Check: Decide destination type (USB / second NAS / cloud), prepare credentials/connectivity, identify which shared folders are irreplaceable, set up password-manager storage for the encryption passphrase.
Expected result: All four decisions are made before opening the Hyper Backup wizard.
If not: Without these, the wizard's defaults will silently pick wrong choices that you'll regret on the first real restore.
Install Hyper Backup and confirm DSM is current
Check: Package Center > Hyper Backup > Install. Control Panel > Update & Restore > confirm DSM is up-to-date.
Expected result: Hyper Backup is installed and DSM is current.
If not: If DSM is out of date, apply the update before continuing — older DSM versions can have Hyper Backup compatibility issues with newer destinations.
Create the first task with conservative defaults
Check: Hyper Backup > + > Data backup task > destination > select irreplaceable folders only > daily schedule at off-peak hours > Smart Recycle retention > enable encryption (if destination warrants) > store passphrase.
Expected result: Task appears in the list and is scheduled.
If not: If encryption is enabled, the wizard offers to download a key file — save it alongside the passphrase storage.
Safe stop: Stop before finishing if passphrase storage isn't ready.
Run the first backup manually and verify completion
Check: Hyper Backup > task > Back up now. Wait for completion (large libraries on slow upstream can take hours-to-days).
Expected result: Task status shows Success with a non-zero Backup Size.
If not: If failure: check Logs detail; resolve the destination/auth/selection issue; re-run.
Verify restorability via Backup Explorer
Check: Hyper Backup > task > Backup Explorer > pick a small known file > Restore > to a different location > open it.
Expected result: Restored file opens and contents match.
If not: If restore fails, the backup isn't real yet — investigate before considering the task complete.
Document the task and schedule the first restore drill
Check: Record: task name, destination, schedule, retention policy, where the passphrase is stored, first-success timestamp. Calendar reminder for a monthly Backup Explorer drill (see /nas/synology-hyper-backup-restore-check).
Expected result: External record exists outside the NAS; recurring drill is scheduled.
If not: Without an external record, losing the NAS loses the documentation of what was being backed up and how.
Decision tree
If: Destination is a USB drive on the NAS.
Then: Fastest restore but no protection against home-loss.
Action: Set USB as the destination, leave it connected for daily backups; rotate to a second USB kept offsite weekly.
If: Destination is a second Synology NAS (LAN or remote).
Then: Real backup if the second NAS is at a different physical location; just convenience if both are in the same home.
Action: Set Hyper Backup Vault on the destination NAS first; then use Remote NAS or rsync option from the source. Confirm Tailscale or VPN if the destination is off-site.
If: Destination is Synology C2 / cloud (Backblaze B2, S3, Azure, etc.).
Then: Best protection against home-loss; bandwidth + cost depend on volume.
Action: Estimate first-upload time at your real upstream bandwidth before committing; enable encryption; pick Smart Recycle retention.
Safe stop: Stop if upstream is too slow to complete a first backup within a reasonable window — consider seed-and-ship with a USB drive shipped to the cloud provider first.
If: Destination is the same volume on the same NAS.
Then: Not a backup — same volume failure takes both data and 'backup'.
Action: Pick any other destination type; even a USB drive on the same NAS is materially better.
If: Encryption is required (anything other than fully-trusted local USB).
Then: Passphrase storage is the actual recovery path.
Action: Enable encryption; store the passphrase in a password manager that itself has an offsite copy; export the key file separately.
Safe stop: Stop the wizard if passphrase storage isn't ready — finishing without it creates a backup you can't restore from.
Evidence table
| Symptom | Evidence to collect | Likely layer | Next action |
|---|---|---|---|
| Hyper Backup task shows 'Success' but Backup Size is 0 bytes. | Hyper Backup > task > Backup Status; Logs detail. | Empty/unreadable source selection | Open the task settings; check that selected folders contain data; re-run after fixing the selection. |
| First-run task fails with destination-error. | Hyper Backup > task > Logs; destination-side connectivity check. | Destination unreachable or credentials invalid | For cloud: re-authenticate; for second NAS: confirm Hyper Backup Vault is enabled; for USB: check it's still mounted under External Devices. |
| First-run task succeeds but Backup Explorer shows no files. | Hyper Backup > task > Backup Explorer. | Source selection chose only empty subdirectories | Reopen task settings; verify selected paths against File Station; expand selection if needed and re-run. |
| Backup Size grows unexpectedly after a week. | Hyper Backup > task list > Backup Size column; compare against source dataset size. | Smart Recycle accumulating too many versions, OR `@eaDir/` thumbnail caches included | Trim retention policy; deselect `@eaDir/` paths from the task; run Backup Verification. |
Commands and settings paths
Install Hyper Backup
Package Center > search 'Hyper Backup' > Install
Where: In DSM web UI.
Expected: Package appears in Main Menu and shows the Running indicator in Package Center > installed list.
Failure means: Install failure usually means DSM is too old; check Control Panel > Update & Restore first.
Safe next step: Apply DSM update; retry Hyper Backup install.
Create Data backup task
Hyper Backup > + (new task) > Data backup task > pick destination > select folders > schedule > Smart Recycle retention
Where: In DSM web UI.
Expected: Task is listed with the schedule and runs successfully on the next scheduled time.
Failure means: Common failures: missing destination credentials, schedule conflict with backup window.
Safe next step: Recheck destination credentials; if scheduled during high-load windows, move to off-peak.
Export task configuration
Hyper Backup > task > More > Settings > Export configuration
Where: In DSM web UI after task creation.
Expected: Configuration file downloads; store it somewhere the NAS doesn't host (e.g., laptop + cloud document storage).
Failure means: Without the config export, recreating a lost task means re-specifying every setting manually.
Safe next step: Keep the export alongside the encryption passphrase (but in separate storage from the destination itself).
Backup Explorer first-file restore
Hyper Backup > task > Backup Explorer > pick a small file > Restore > to a different location > open the restored file
Where: In DSM web UI.
Expected: Restored file opens and contents match expectations.
Failure means: Failure here means the backup didn't actually capture the source — investigate before relying on the task.
Safe next step: If restore fails, recheck source selection; re-run the task; re-test before assuming the backup works.
Hardware and platform boundary
Change only when
- Consider C2 Storage or a second destination only after the first task has run cleanly for a month and you've completed at least one Backup Explorer restore drill.
Evidence that matters
- Destination matters most — local vs offsite vs encrypted; retention policy second; schedule timing third.
Evidence that does not matter
- Backup speed is mostly bound by upstream bandwidth and destination type — a newer NAS doesn't materially improve backup throughput for cloud destinations.
Avoid
- Avoid same-volume destinations, unencrypted cloud destinations, and tasks without retention limits (unbounded growth).
Last reviewed
2026-05-18 · Reviewed by HomeTechOps. Reviewed for Synology Hyper Backup first-time setup using Synology's official Hyper Backup specifications, the NIST conservative-backup framing for independent copies, and the encryption-passphrase-as-recovery-key rule from the Backup and data protection guidance.
Source-backed checks
HomeTechOps turns official docs and conservative safety rules into a shorter runbook. These links are the source trail for the page direction.
Planning a purchase?
We keep a source-backed, price-free comparison so you can buy once and right. No star ratings, every spec cited.
Synology vs UGREEN vs DIY NAS in 2026 →