NAS
TrueNAS pool health before replacing a disk
ZFS pool degradation is recoverable when handled in the right order — backup first, evidence second, replacement third. Operators who skip the first two and click Replace can convert a single failing disk into a multi-disk failure during rebuild, especially on wide vdevs. This page is the pre-replacement checklist that the Replace UI doesn't enforce.
Best for: TrueNAS Scale operators seeing a DEGRADED or FAULTED pool, a SMART warning, or a disk that's intermittently dropping from the pool. Before clicking Replace.
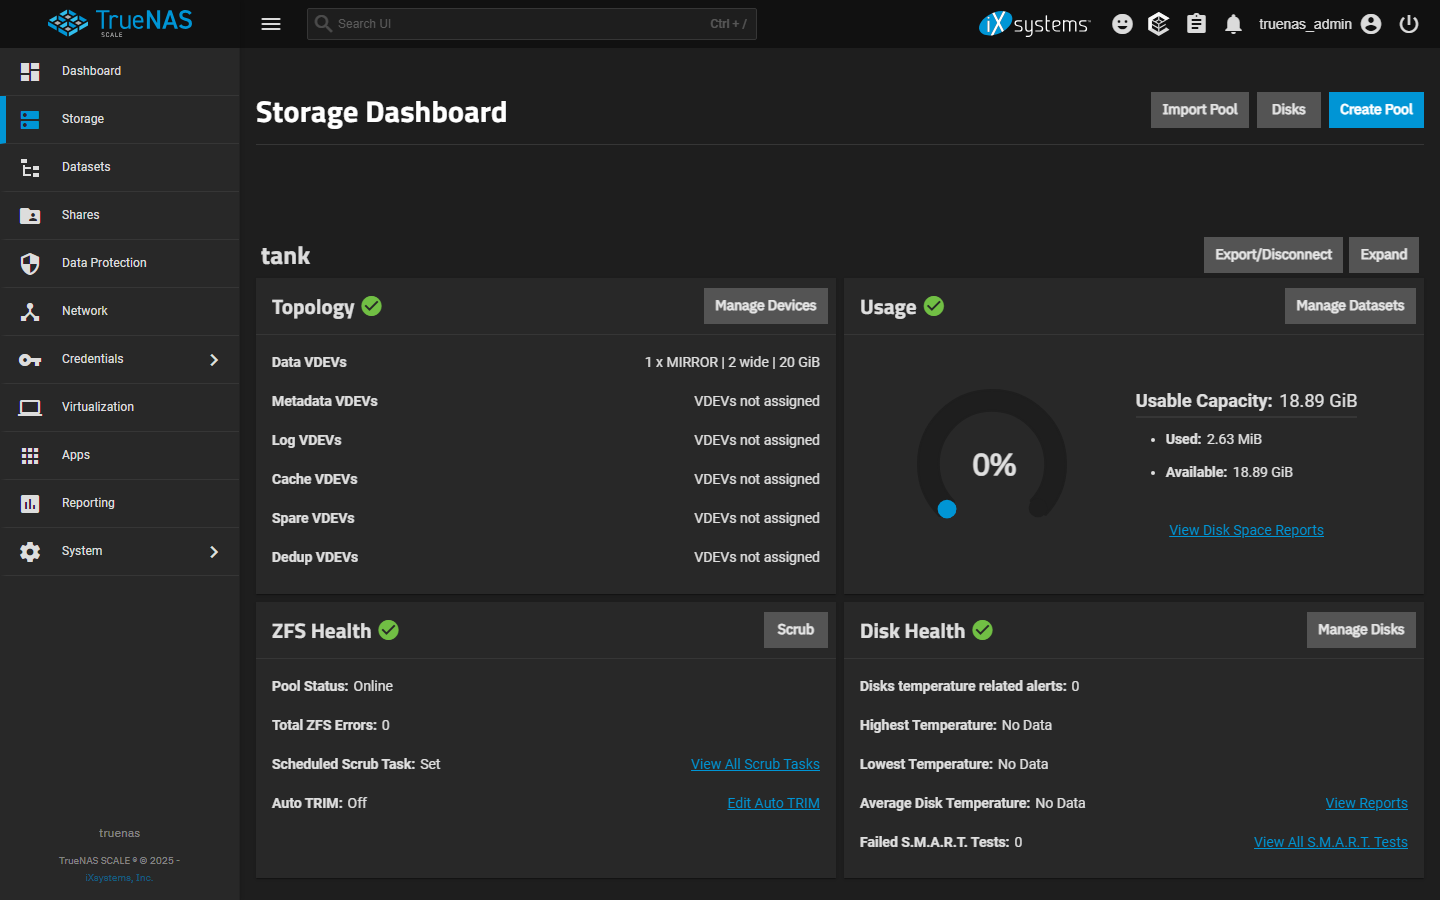
TrueNAS Scale Storage Dashboard
Reference images and diagrams. Click any image to view full resolution.
Read the pool state before touching anything
- Storage > pool overview shows pool state: ONLINE (healthy), DEGRADED (a vdev has a missing/failed disk but is still serving), FAULTED (vdev can't serve — data inaccessible).
- If state is FAULTED, do NOT attempt a Replace without restoring connectivity to the missing disk first; the rebuild from parity alone may not be possible.
- If state is DEGRADED, the pool is still serving but at reduced redundancy. A second disk failure during rebuild = data loss on RAIDZ1 / mirror with one parity disk. Rebuild stress is real.
- Storage > pool > Disks shows per-disk status. Note the failing disk's serial number (right-click row > Show Details — the serial is the identifier you need; slot numbers can be misleading).
Capture evidence before replacing
- Run a SMART long test on the failing disk: Storage > Disks > select disk > Manual Test > Long. Wait for completion (hours). Storage > Reports > SMART shows the result.
- Note SMART attribute deltas: Reallocated_Sector_Ct, Current_Pending_Sector, UDMA_CRC_Error_Count, Reported_Uncorrect. Increases over time = real disk failure (vs cable / power / controller issue, which would show no SMART progression).
- Check `dmesg` and system logs for ZFS / kernel errors: Reports > System Log shows recent kernel events. ZFS write errors with the failing disk's serial are direct evidence.
- Take a screenshot or export of the pool state and SMART data BEFORE replacing — this is your evidence trail if the rebuild has issues.
Verify a real backup exists
- Cloud Sync or Replication task for the pool: Data Protection > Cloud Sync Tasks / Replication Tasks > confirm last success was recent (within 24 hours typically) and covers the irreplaceable datasets.
- If no recent backup exists and the pool is RAIDZ1 / mirror with one parity, BACKUP FIRST before attempting Replace. The rebuild stress can surface latent errors on other disks; a second failure during rebuild = data loss.
- Trigger an emergency Cloud Sync run if upstream bandwidth allows: Data Protection > Cloud Sync Tasks > task > play icon. Even a partial 'just the irreplaceable subset' backup is better than none.
- For RAIDZ2 / dual-parity / triple-mirror configurations, the second-failure risk is lower but not zero — backup is still the right call before the rebuild.
Performing the replace
- Buy the replacement disk: same size or larger than the failing disk. Different brand is fine (and recommended — same-batch disks fail at similar times).
- Power down or use the pool's hot-swap if the chassis supports it: Storage > pool > pool actions > Offline the failing disk first if doing a power-down replace. For hot-swap, the Offline step is still recommended before pulling the disk.
- Physically replace the disk in the same slot. Power up.
- Storage > pool > Disks > pull-down 'Replace' on the now-empty slot > select the new disk. ZFS starts resilvering immediately.
- Watch resilver progress: Storage > pool > Resilver shows percentage and ETA. Don't interrupt; don't reboot mid-resilver. Wide RAIDZ pools can take 24+ hours.
- After resilver completes, run a scrub: Storage > Scrub Tasks > run manually. The scrub catches any errors the resilver couldn't repair.
Pool state.
Storage > Disks > the affected disk row > Show Details > Serial Number
Storage > pool overview shows ONLINE / DEGRADED / FAULTED.
Stop and reassess if resilver hits new errors on a DIFFERENT disk — pool may be in worse shape than expected; restore-from-backup may be the safer path.
Layer path
Step-by-step runbook
Start here. Do each check in order, compare it to the expected result, and stop when the evidence explains the failure or the safe stop point applies.
Capture pool state and disk evidence
Check: Storage > pool > details screenshot; record failing disk serial; run SMART long test; review SMART deltas; check `dmesg` for ZFS errors.
Expected result: Pool state, failing disk identity, and SMART evidence are all captured.
If not: Without this evidence, you can't distinguish disk failure from cable/controller issues; without that, you may replace the wrong thing.
Verify a recent backup exists for irreplaceable data
Check: Data Protection > Cloud Sync / Cloud Backup / Replication Tasks > last success within acceptable window for the datasets that matter.
Expected result: Backup verified current.
If not: If no recent backup on RAIDZ1 / single-parity mirror, BACKUP FIRST. Rebuild stress + a second failure = total loss.
Acquire replacement disk
Check: Same-capacity or larger; ideally different brand/batch than the failed disk.
Expected result: Replacement disk in hand and tested briefly outside the pool.
If not: Same-batch disks fail at similar times — different brand reduces correlated-failure risk.
Offline the failing disk via UI
Check: the "Offline a disk before physical pull" command below.
Expected result: Disk shows OFFLINE in pool state.
If not: Avoids ZFS thrashing during the physical pull.
Physically replace the disk
Check: Power down (or hot-swap if chassis supports it). Match the failing disk's serial against the slot. Insert new disk. Power back up.
Expected result: New disk visible in Storage > Disks; old disk's serial no longer present.
If not: Verify by serial, not slot, especially in larger chassis.
Replace in UI; let resilver complete
Check: Storage > pool > Disks > new disk's slot > Replace > select the new disk identifier > start. Monitor resilver progress via Storage > pool > Resilver.
Expected result: Resilver runs to completion; no new errors.
If not: Don't reboot during resilver; don't interrupt. Wide RAIDZ pools can take 24+ hours.
Safe stop: Stop and reassess if resilver hits new errors on a DIFFERENT disk — pool may be in worse shape than expected; restore-from-backup may be the safer path.
Post-resilver scrub
Check: Storage > Scrub Tasks > Run Now.
Expected result: Scrub completes clean.
If not: Resilver alone doesn't catch every error; scrub does.
Decision tree
If: Pool state FAULTED.
Then: Replace cannot proceed — vdev is dead.
Action: Restore connectivity to the missing disk first (check cabling, power, controller). If genuinely lost, restore from backup is the path, not Replace.
Safe stop: Stop before clicking Replace on a FAULTED pool — operation may not be possible and obscures the actual recovery path.
If: Pool DEGRADED, recent backup exists, replacement disk available.
Then: Proceed with replacement following the documented sequence.
Action: Offline failing disk via UI → physical replacement → Replace in UI → resilver → post-resilver scrub.
If: Pool DEGRADED, no recent backup.
Then: Backup first; the rebuild stress is the risk window.
Action: Trigger emergency Cloud Sync / Cloud Backup or one-off Replication BEFORE replace. Once at least the irreplaceable datasets have a current copy off-pool, proceed with Replace.
Safe stop: Stop before replacing on RAIDZ1 with no recent backup — second failure during rebuild = total loss.
If: Failing disk is intermittent (drops + recovers).
Then: Could be disk, cable, or power. Run evidence before assuming disk.
Action: Re-seat cable + power; run SMART long test; check `dmesg` for controller errors. If symptoms persist after re-seating, treat as disk failure.
If: Wide RAIDZ1 (8+ drives), single disk failed.
Then: Second-failure-during-rebuild risk is materially elevated.
Action: Backup is non-negotiable. Consider after rebuild whether to migrate to narrower RAIDZ vdevs or RAIDZ2 — OpenZFS guidance is RAIDZ1 ≤ 6 drives.
Safe stop: Stop before treating this as a routine swap; the configuration is fragile.
Evidence table
| Symptom | Evidence to collect | Likely layer | Next action |
|---|---|---|---|
| Pool DEGRADED with one disk UNAVAIL. | Storage > pool > details. | Disk failure or connectivity loss | Identify disk serial; SMART test; check cable/power; if SMART confirms failure, proceed to replace with backup verified. |
| SMART Reallocated_Sector_Ct increased by hundreds since last check. | Reports > SMART > attribute history. | Real disk failure progression | Plan replacement; ensure backup current; run replace sequence. |
| ZFS write errors in `dmesg` for a specific disk serial. | Reports > System Log filtered for the disk. | Real disk-level errors during writes | Confirm with SMART long test; if SMART also progresses, replace; if SMART is clean, suspect cable/controller. |
| Multiple disks with UDMA_CRC_Error_Count > 0. | Reports > SMART > UDMA_CRC across all disks. | Cable or controller issue, not necessarily disk failure | Re-seat all SATA cables; consider replacing the SATA controller / HBA before replacing drives. |
Commands and settings paths
Identify failing disk by serial
Storage > Disks > the affected disk row > Show Details > Serial Number
Where: In the TrueNAS web UI.
Expected: Serial captured.
Failure means: Slot-number-only identification is unreliable across reboots.
Safe next step: Match physical replacement against this serial when swapping.
Run SMART long test
Storage > Disks > disk > Manual Test > Long > Confirm
Where: In the TrueNAS web UI.
Expected: Test runs (hours); result appears under Reports > SMART after completion.
Failure means: Test interruption (reboot, drive pull) means re-run from start.
Safe next step: Wait for completion; review SMART attributes.
Offline a disk before physical pull
Storage > pool > Disks > failing disk row > Offline
Where: In the TrueNAS web UI.
Expected: Disk shows OFFLINE in pool state; ZFS stops sending writes to it.
Failure means: Pulling a still-online disk can cause ZFS thrashing and unnecessary write errors.
Safe next step: Then physically replace; then Storage > Replace in UI on the empty slot.
Post-resilver scrub
Storage > Scrub Tasks > Run Now (or Data Protection > Scrub Tasks)
Where: In the TrueNAS web UI.
Expected: Scrub completes with 0 errors.
Failure means: Resilver can leave hidden errors that scrub will find and repair.
Safe next step: Don't consider replacement complete until post-resilver scrub passes clean.
Hardware and platform boundary
Change only when
- Migrating from wide RAIDZ1 to narrower vdevs or RAIDZ2 is the right step after surviving a rebuild on a wide RAIDZ1 — the second-failure risk is the warning signal, not the current state.
Evidence that matters
- Pool health monitoring (regular scrubs, SMART history captured), backup recency, and rebuild discipline matter most.
Evidence that does not matter
- Newer/faster drives don't change rebuild stress; pool architecture (vdev width, parity level) is what determines second-failure risk.
Avoid
- Avoid clicking Replace on FAULTED pools, replacing on RAIDZ1 without a recent backup, pulling disks without Offlining them first, or skipping the post-resilver scrub.
Last reviewed
2026-05-18 · Reviewed by HomeTechOps. Reviewed against TrueNAS Scale's storage pool management documentation, OpenZFS guidance on RAIDZ width and resilver behavior, and the conservative backup-before-rebuild rule from NIST's data-protection framing.
Source-backed checks
HomeTechOps turns official docs and conservative safety rules into a shorter runbook. These links are the source trail for the page direction.
Planning a purchase?
We keep a source-backed, price-free comparison so you can buy once and right. No star ratings, every spec cited.
NAS Drives: WD Red vs IronWolf vs N300 →